Showing posts with label making things. Show all posts

Monday, October 18, 2010

Design Basics Part 2 - Line

Welcome to the second instalment of my occasional series of articles on some of the ideas surrounding Design. My intention remains the same ~ to demystify some of what makes good design good.

As noted HERE the basics of Design can be thought of as a set of ELEMENTS and PRINCIPLES. The next Element to investigate is LINE.

Line ~ can be an actual line drawn, or can be the line formed where two surfaces, or surface and space meet.

Line can lead your eye in a particular direction, as can shape, eg. Arrow.
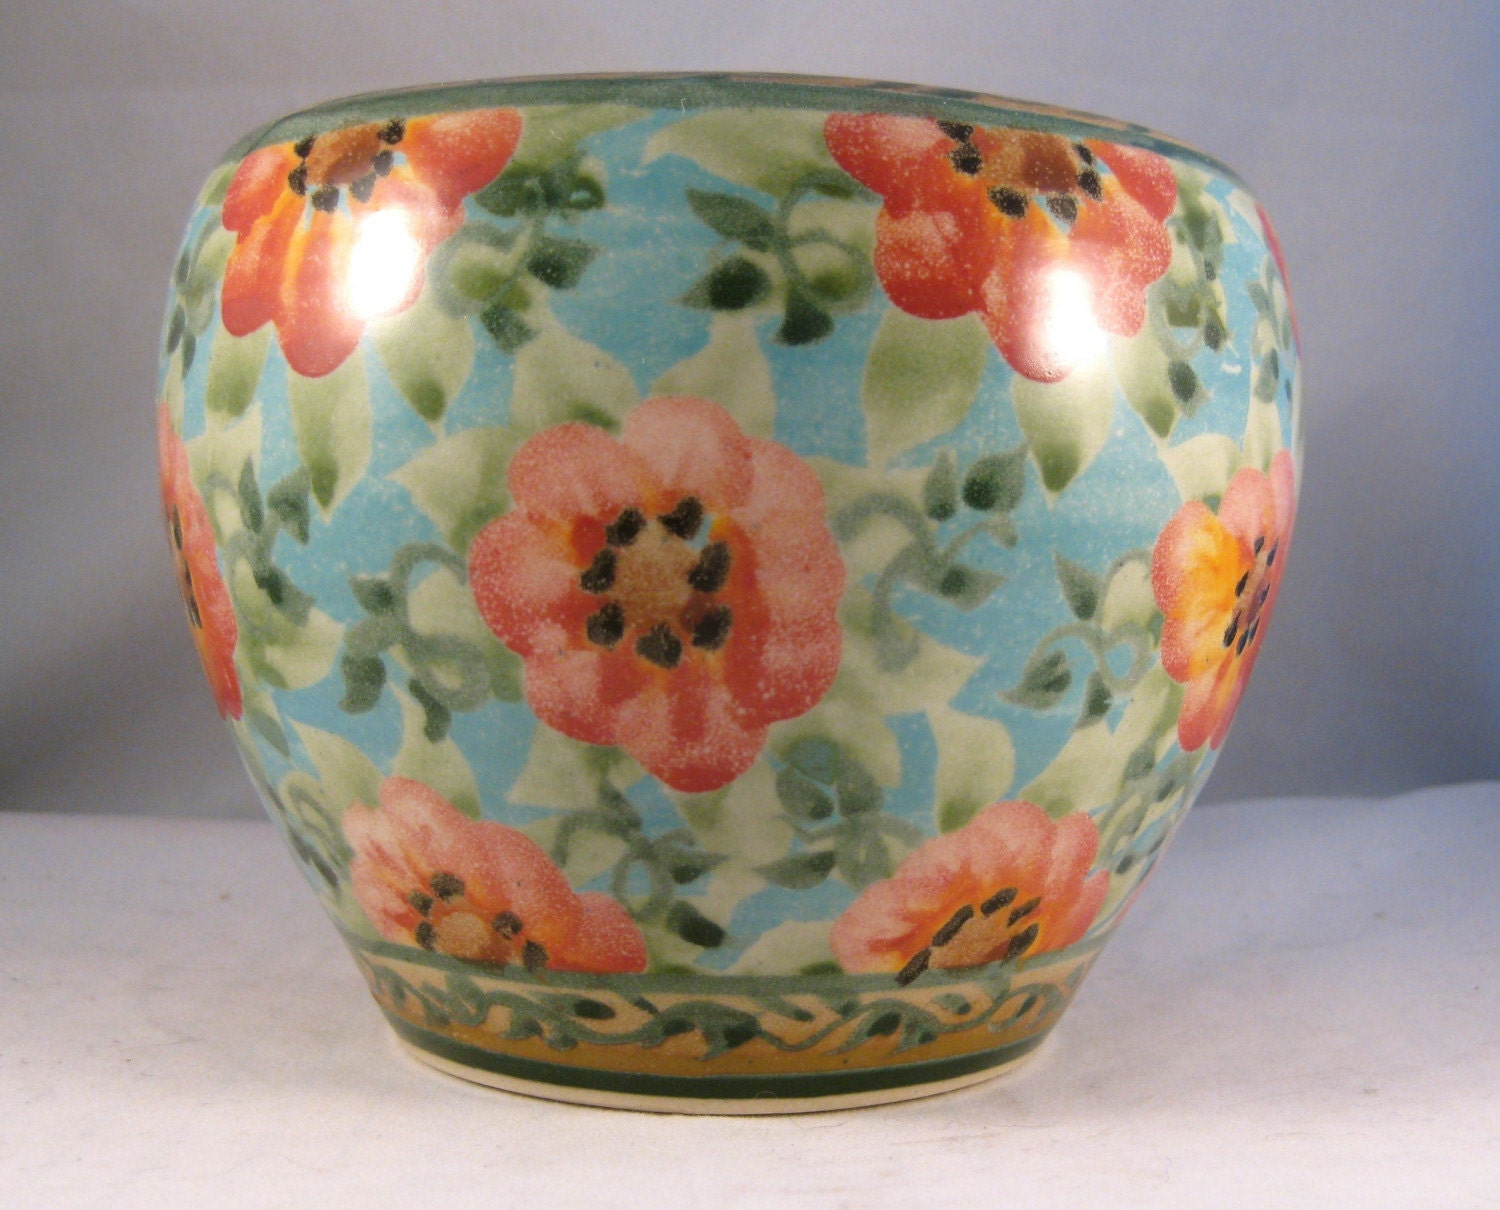
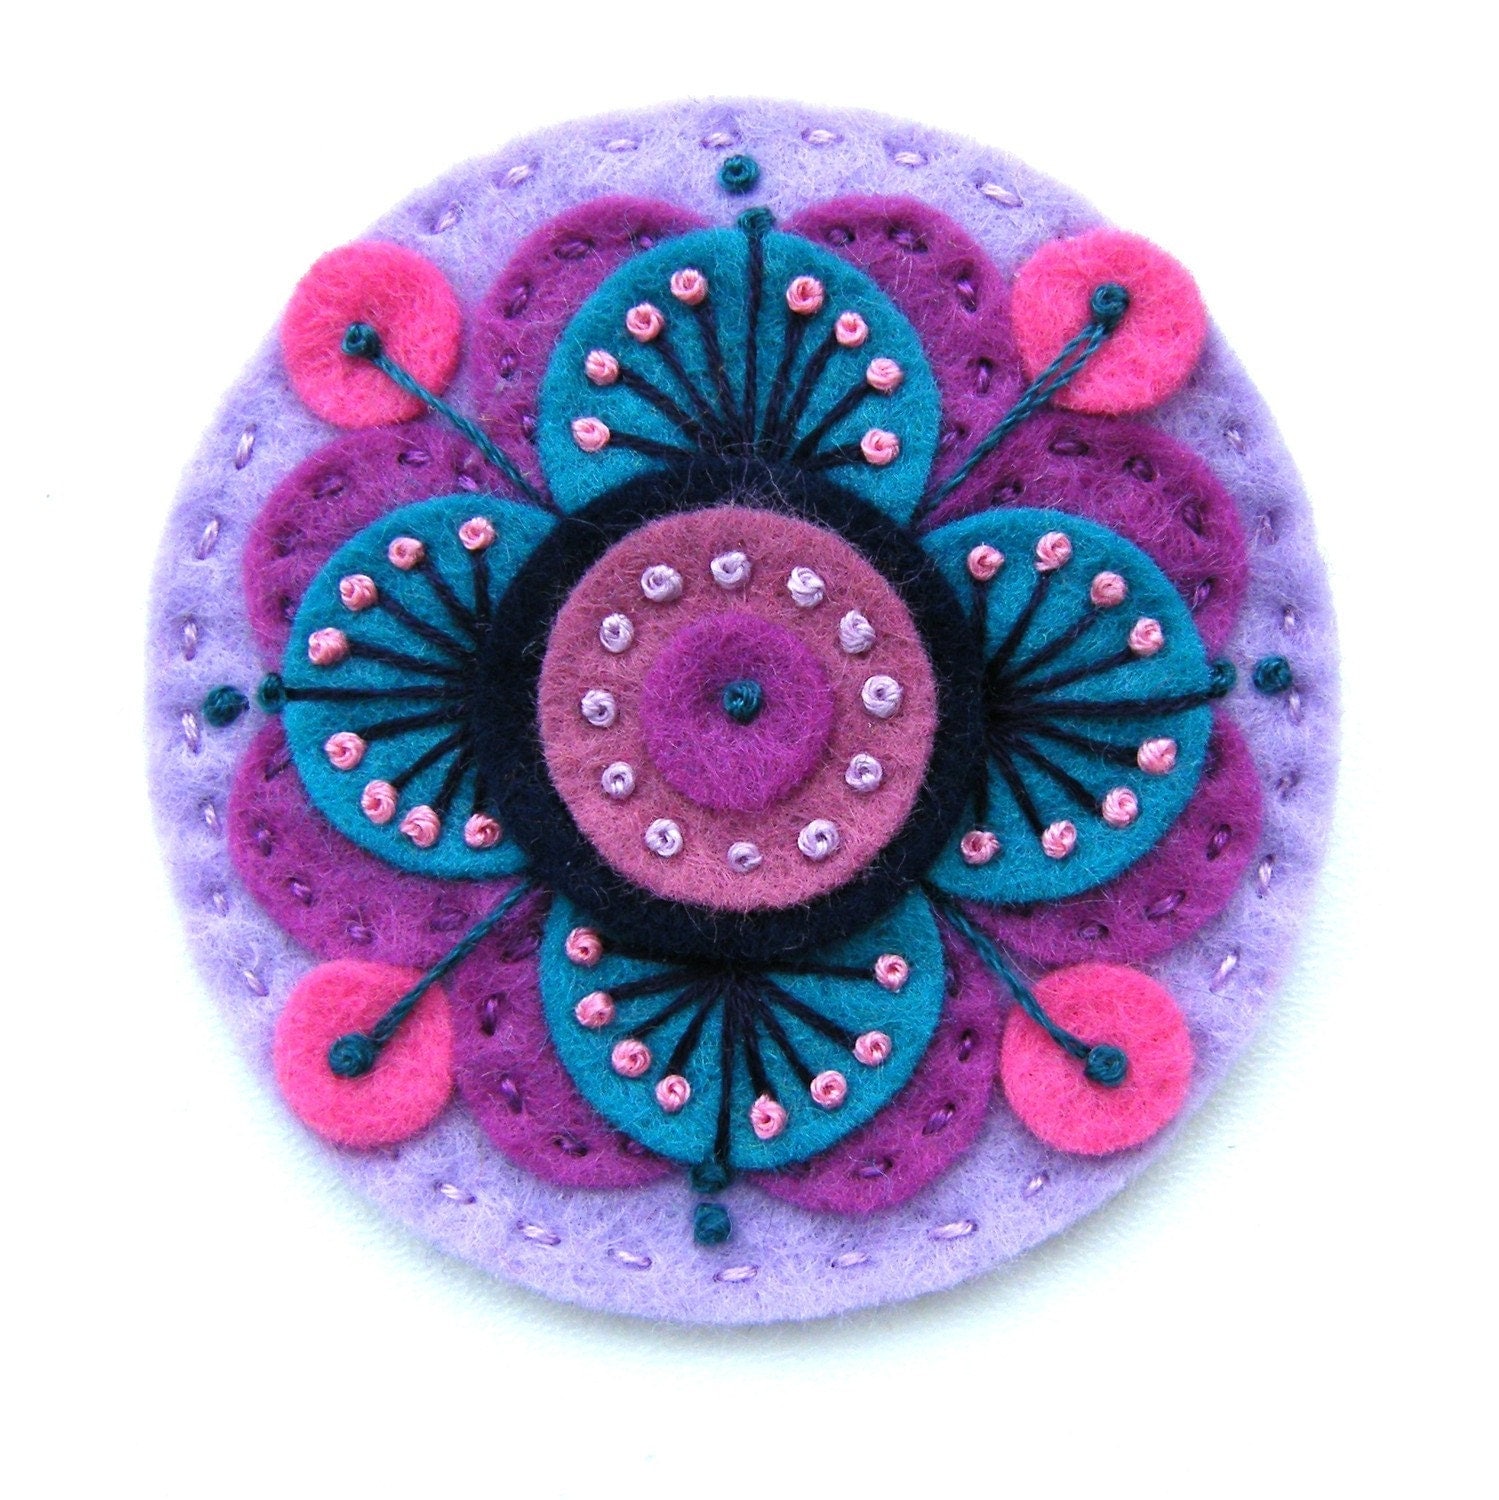
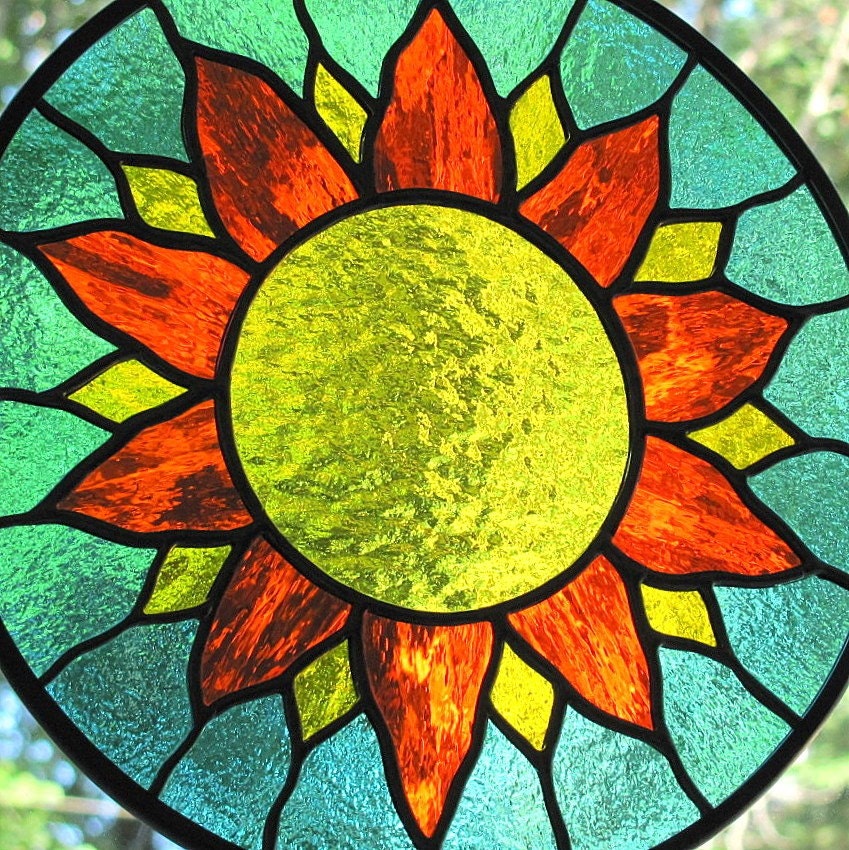
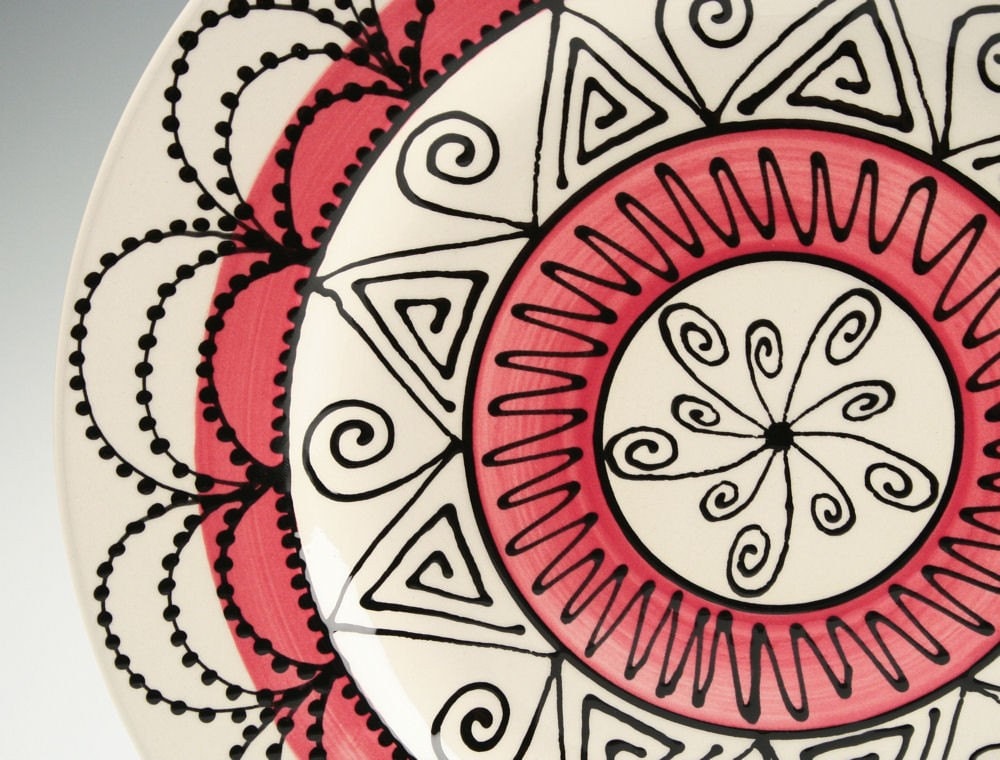
On a round shape, our eyes are usually drawn first to the centre. In this plate, our eyes then work through the successive bands, helped along by the general direction of the lines in each band of pattern.


Form and depth can be built up with simple layering of lines.


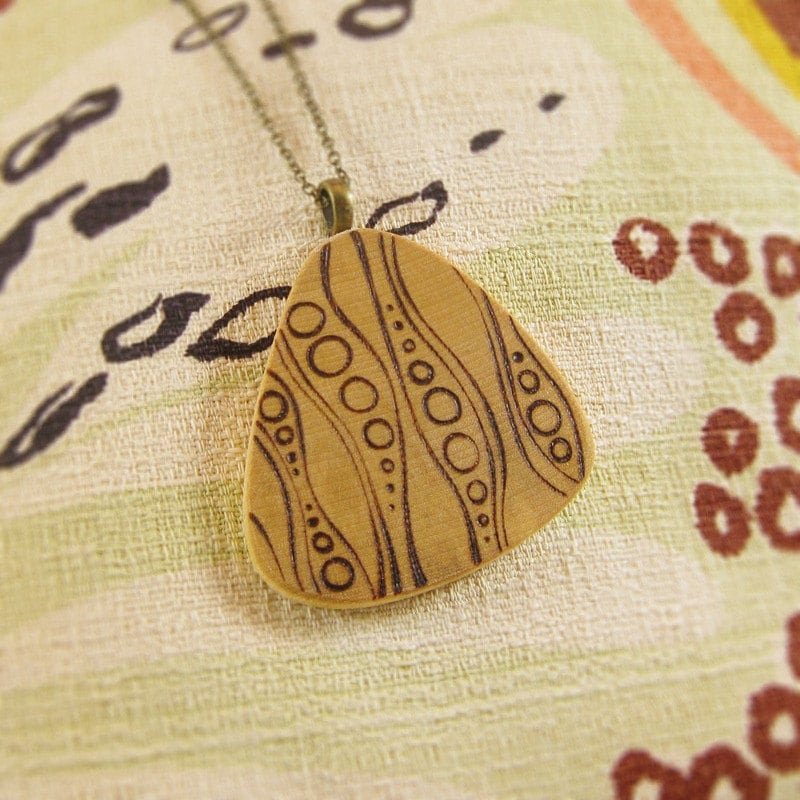
Depth and movement can be created depending on the thickness of the line. Our eyes continue to move up and down the flowing shapes. The lighter lines tend to come 'forward', while the darker lines tend to recede.


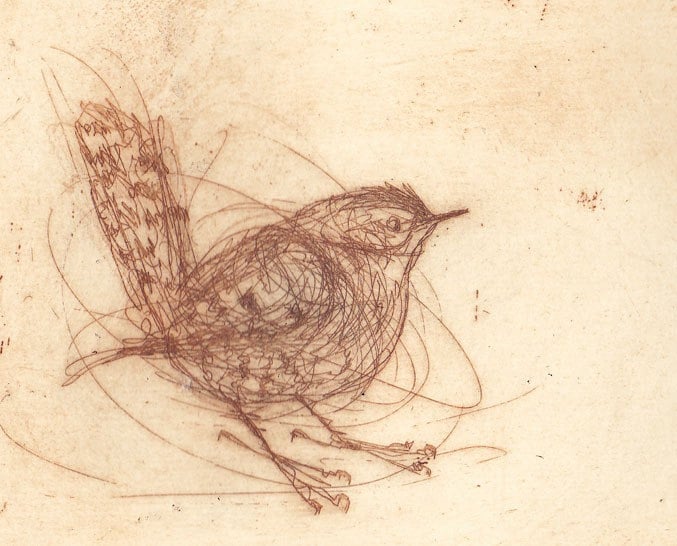
By varying the thickness and density of the line, you can convey a sense of real form and weight. Generally, lines are thicker and darker where there is shadow. Note the subtle change in thickness on the ribs, of the left of the body (ie the upper line)
Bending Figure, charcoal drawing


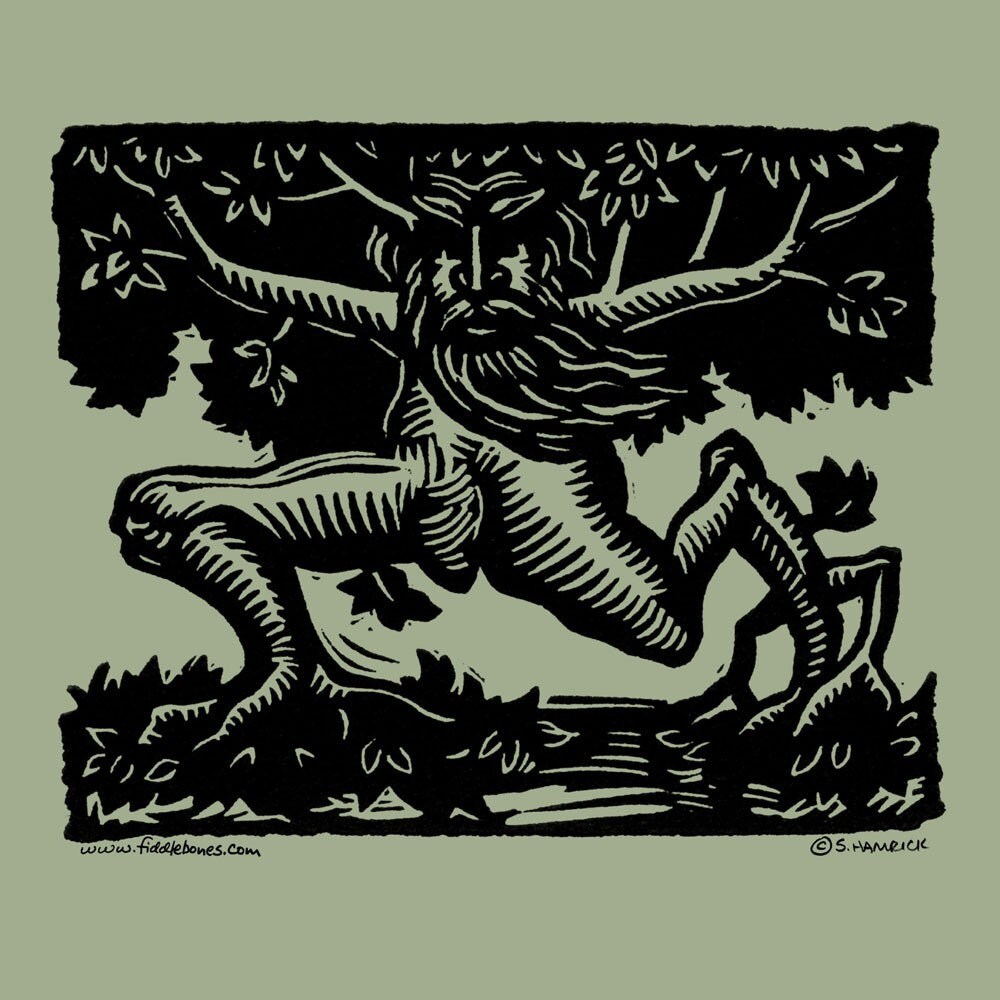
Diagonals create movement and/or vitality, as in this image of a fresh flower laden branch. Strength is gained through the simplicity of the composition, and the heaviness and repetition of the tapered lines.


Line can be both delicate and gutsy.


Like colour, there is so much you can do with line, and I've only just touched the tip of the iceberg here. As always, I love your comments and questions. So go on, drop me a line! :)

Stay tuned for the next post on Size.... (yes, it DOES matter)

Sunday, August 29, 2010

Design Basics - Part 1 - Colour

What makes good design work? Sure, it's 'what you like', but if 90% of people agree that they 'like' something, isn't it possible that there is something more fundamental than personal taste happening there? This is the first part in an occasional series of articles I am writing on some of the ideas surrounding Design, and my intention is hopefully to demystify some of what makes good design good.

--------

Most of us can look at an object and quickly decide if it is ‘good’ or ‘yuk’. But trying to analyse just what it is that makes something look good requires knowledge. There are many ways of analysing design; this is just one way of looking at it and thinking about it.

In my years as an art teacher, I have found the Elements and Principles of Design as a very useful way of looking at art and design, and I consider them as the two fundamentals. You might like to think of the ELEMENTS as a series of tools you can use, and the PRINCIPLES as the methods you can apply in using them. There are some crossovers between these ideas, and you will find that each element or principle rarely works in isolation.


Colour
Colour is a whole area of study on its own and many books have been written about it.

Colour is sometimes referred to as hue. There are three primary colours (red, yellow, blue), which can be mixed to form secondary colours (orange, green, purple), and tertiaries (those colours in between the primary and secondary colours). Colours can be darkened with black (tone) or lightened with white (tint). There are infinite variations that can be achieved.


Colour, and colour combinations can be clear, muted, loud, subtle, pale, strong, murky, and more. They can be utilised to enhance the ‘mood’ of a piece – cheerful, romantic, bold, fresh, or more.


When choosing colours to co-ordinate, use the colour wheel as a guide; here are some basic ideas.


1. Two colours that are directly opposite each other on the colour wheel look good together, and are referred to as complementary, e.g. yellow and violet.

2. Three colours that are equally spaced from each other on the wheel, forming an equilateral triangle (triad), also look good, e.g. blue-violet, yellow-green, and red-orange.

3. Two or three colours right next to each other on the wheel are called harmonious, and look good, e.g. violet, blue-violet, blue.

4. Monochromatic means sticking fairly closely to one hue, but in different tones (shades of dark & light)

When choosing colours, also consider the value of the colour – dusky pink will probably look terrible with a clear bright red, even though they have a similar base hue.

There is so much more you can do with colour; if you are feeling confident, I would encourage you to explore this area further – check your local library.

For lots of us, it's often better to look at theory in practice.

COMPLEMENTARY COLOURS


from Gaialai


from SandyKreyer Kiln House Pottery


HARMONIOUS COLOURS


COLOUR TRIAD

blue, red, and yellow
from


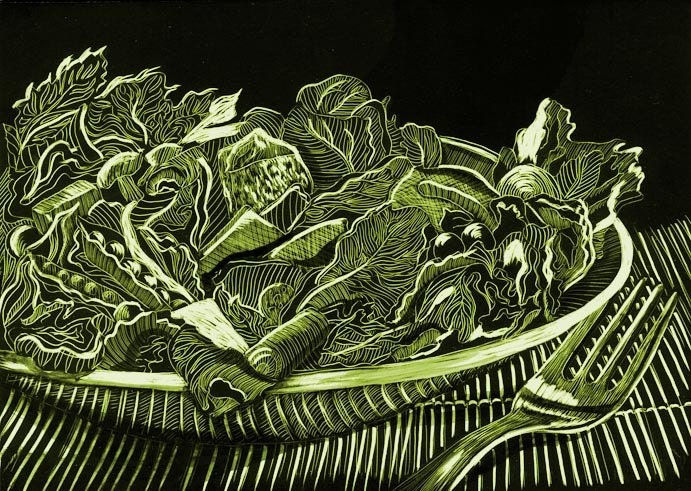
MONOCHROMATIC
Salad Monochromatic, scraperboard,


from namolio


Some of my favourite blogs that love colour ;
- Color Collective - http://color-collective.blogspot.com/ - colour palettes of the day
- Cassia Beck http://cassiab.blogspot.com/ - photography with quite a particular palette
- House of Turquoise (Pantone's colour of the year!) - http://www.houseofturquoise.com/

Have fun!!!


Monday, June 21, 2010

Super Scarlet was back in business.
"This is it." thought Scarlet. "Today is the day."
Today was mid-winter solstice. "The longest night means that tomorrow, the days will start getting longer. Time for a spring clean."
She grabbed pencil and paper.
Time to make a to-do list.

Finish 3 more cushions
Make 5 new bags.
Sort some business cards.
Tidy that garden. (oh my, have you seen it of late?)
Sort that bookshelf.
Fix those broken toys.
Do those clothing repairs.
Vacuum that filthy floor.
Wash that school uniform for tomorrow.
Do those dishes...
Oh.

Um, OK. now to prioritise.
Hmmm. She turned the list upside down and sighed.

Friday, February 12, 2010

Love and figs

We are so lucky to have access to a fig tree laden with fruit.
This was one of the figs I opened last night -  a fig heart. Sweet, huh?
Fig and ginger jam, caramelised figs, and our very favourite
figs poached in syrup with vanilla and cointreau.
Happy valentine's day x

Tuesday, February 2, 2010

How to make a heart

It's so long since I posted, I thought I had better make up for it somehow...
So I'm posting a tute on how you can make a little brooch just like this one.


YOU WILL NEED
       - fabric at least 18cm wide by 10cm (depends on the weight of your fabric and how many shapes you have to cut - refer below)
       - embroidery thread
       - dressmaker's pencil or carbon paper
       - fibrefill stuffing
       - needle and pins
       - scissors

METHOD
1. If you are using average dress-weight fabric, cut five heart shapes 5.5cm high x 5.5cm wide (refer cutting diagram below, or I used a biscuit cutter to trace around). For very lightweight fabrics, you may need to use more layers to provide some substance to your brooch. If your brooch is too soft, it may lose its shape more rapidly over time.
 
(Click on this to get the printable full-size image at 150px/inch - the blue should measure 18cm x 10cm...
... I hope! let me know if it's not working)


2. Carefully pin three of the fabric shapes together, ensuring they align as closely as possible.

3. Using thread to match your fabric (not necessarily embroidery thread; I use normal sewing thread), stitch the entire perimeter of these three layers using a simple running stitch, at least 6mm from the edge. You may need to make this margin bigger, depending on how easily your fabric frays.
(You can judge this by cutting a circle of cloth about 5cm diameter and gliding the fabric through thumb and forefinger with a gentle grip. Most woven fabric will fray a little, but usually will not fray beyond a few threads. Check both warp AND weft (longways and sideways), as these can vary in tightness of weave and fibre composition.)
 
 4. Using a dressmaker's pencil, or dressmaker's carbon, transfer your embroidery design to the WRONG side (i.e. what will be the inside) of your fabric brooch. I use this technique so that there is never a trace of pencil peeking out from under your embroidery .... I find it doesn't brush off some fabrics so very well. This way, you use it as a guide, rather than something that needs to be covered.
  
(Click on this to get the printable full-size image at 150px/inch - the heart should measure 5.5cm x 5.5cm)


You can print the guide above and use carbon to transfer it to fabric; however, I like to draw my designs by hand, in pencil. I feel the natural variations that come with this method enhance the hand-made, warm qualities of the piece.


5. Using a double strand of gold embroidery thread, and a simple backstitch, work your design, using the drawing on the back as a guide.
 

6. Place the other two layers together with your embroidered section, and pin securely.

7. Using thread to match your fabric, insert needle through one of the middle layers, coming out the back of your piece. Stitch with running stitch through most of the layers, being careful not to catch through to the front, and stopping when there is about a 25mm gap along one edge of the brooch.
 

 8. Insert a small amount of fibrefill to softly pad your brooch, then continue stitching to close the piece, finishing your sewing on one of the middle layers.

 
9.  Finish your brooch by attaching a brooch pin to the back - I make my own sterling silver ones, but you can buy pre-made base metal ones from a large craft store or jewellery supplies shop. The roof (hook part) of the catch should be upper-most so that the pointy end of the pin has less chance of inadvertently coming undone; and as a general rule, the brooch pin should be attached about one-third from the top of the brooch. That way there is enough weight in the bottom of the brooch for it to sit properly when worn on clothing (unless it is particularly top-heavy).

Wear it well.
 

If you've got any questions, problems, or comments I would love some feedback on this (my first!) tutorial....I'm planning some more in the future, so anything/everything is helpful.

Tuesday, December 15, 2009

....and the winner is..

...and the winner is.... random number generator 6 - c_haynes
 I'll be contacting you shortly!

My tech skills aren't quite up to getting the screen shot, so you'll just have to take my word for it   ;)

Thanks SO much to all of you who participated in the giveaway, AND all the new followers on my blog, so glad you could join me x

Thursday, December 10, 2009

Another realisation

Here's another brooch I just finished yesterday. It's made from some linen that I hand-dyed during my textile days at uni (waaaaay back) and some more of that stash of lush curtaining, plus some little glass seed beads. (Maybe it's all that time I spent breastfeeding, but I can't get the nipple connection out of my head...).  Hmmm, I think this recycling/upcycling thing attests to the fact that I'm a hoarder. It's just that I can't seem to let go of potential

Sometimes that potential is realised. I think there is a lot of potential for me to get through before I die.


The brooch uses 5 layers of fabric, stitched in two lots, plus a tiny bit of fibre-fill. I had stitched it entirely in olive, but thought it looked a little flat and monotone; hence the ruby-red. The beads provide a nice textural contrast. 

(p.s. don't forget to enter the giveaway below...closes this tuesday)

Saturday, December 5, 2009

my first giveaway!

I was so pleased to find a few days ago that I had fifty followers on my blog, I thought I had better celebrate by having a giveaway! I have been thinking about what to make for some time, as I wanted to add some smaller items to my shop. So, here goes the experimenting with a new idea...I trained as a jeweller and silversmith, but I'm currently working in textiles....perhaps the answer was obvious.
Anyway, here's the result! Little fabric brooches.


Everyone who leaves me a comment here on my blog will go in the running to receive one of these very fresh pieces. You just need to suggest a new adventure for Scarlet {read back thru the blog for her previous moments...}. All the names will go into a cyber-hat and the lucky winner will be drawn by random number generator, on Tuesday, 15th December.

Thanks a heap for your support!

Thursday, October 22, 2009

While I'm at it, I thought I'd share my workspace with you. I'm sure lots of artisans can relate.... Here's my sewing table...note how when it's open, it's creating a traffic hazard at the end of the hallway. The workbench is supplemented with space on the kitchen table.


And here's part of my fabric stash


and here's another part of my fabric stash


which just goes to prove you don't need lots of space to create beautiful things.
(...although it would be nice...*sigh*)

Thursday, October 15, 2009

Here is the latest adventure in cushion making. It's that same luscious curtain I have been hoarding for years...
My three-year-old son approves. "I like this one mummy," he said. And that's important.


Progress shots...


...and yes I love my scissors.

Friday, October 2, 2009

The tendril cushion is finished. I was imagining something vaguely Indonesian-inspired - perhaps it was the fabric.

Tuesday, September 29, 2009

Working on two new cushions. The first is finished, olive green satiny richness from old curtains that I bought eons ago at a small theatre's closing down sale. It was harboured in my fabric stash for years, because I always knew I'd do something with it. I've still got quite a bit of fabric left....I might do another something or two with it soon. Again I thought I'd share the before and after washing machine shots...not a dramatic difference, but it did fluff the frayed edges a little more, and added a lovely subtle scrunch to the surface.


The second cushion is still a work in progress. I was thinking about imposing some kind of floral rounded-ness onto the rigid check of these two fabrics, which work well together. They are a cotton/polyester/nylon mix, with gold nylon in the warp providing a bit of shimmer where it catches the light.

I drew a few tendrils onto paper, then stitched through the paper and the two layers of fabric, following the lines of my drawing. Then I cut around the outside of my stitching, leaving about a 6mm margin. The paper was removed by wetting it so it was weak and easy to tear (it still took a bit of work). I will post another pic when it's finished.


Tuesday, September 22, 2009


Here's a freshly finished doll, destined for my long-time friend and her new baby. Not quite sure how it fits with my other work, except that it is a collision of patterns and lots of colour. Anyhow, I thought I'd share it.

Saturday, September 19, 2009


It all started a year or so back, when I was running out of time for a father's day present for the fabulous father of my children. He loves a good cup of tea, and the derelict teacosy we had should have been given a decent burial long ago. I had been layering and texturing in my jewellery pieces for a year or so, using all my little offcut scraps of silver to create small topographic reliefs. These ideas melded together - as they often do when under pressure - with offcuts from previous textile projects, to make this olive teacosy. It is indeed a 'cosy' fit, I have re-drafted the pattern to a more generous fit. Nonetheless, I was pleased with the effect; if I had enough fabric, I might have made a larger piece....a cushion...a jacket?

Friday, September 18, 2009


After washing in the machine, the fabric frayed considerably, which I quite liked. My children liked it too. But Phil was a bit concerned....

I trimmed the loose threads, so it looks a little less out of control; a little neater.

Here it is, before and after.

I would appreciate any feedback

Thursday, September 17, 2009

phew. the cushion cover survived the trip through the wash... in fact it survived very well. Very happy with the result. just have to photograph it now...

Tuesday, September 15, 2009

I'm working on cushion covers, still investigating the possibilities of layering cloth. I have been working with this idea of layering texture and pattern for some time, although until recently, I have only used it with my jewellery.

But I'm struggling with the idea of putting a loosely woven cloth with unfinished edges into the washing machine....I know the edges will fray and fluff , but how much more will it unravel?? I just have to trust in serendipity.